Or Nué, Italian Shading and Goldwork Embroidery
- Kelley Aldridge
- Feb 12, 2023
- 3 min read
Where hand embroidery meets fine art…

This branch of goldwork embroidery is very much in the forefront of my mind at the moment, as I’m about to embark on a Natalie Dupuis online course focussing just on this technique. It was touched on very briefly during my training as an apprentice at the Royal School of Needlework as part of a wider goldwork piece. Since seeing the work of artists such as Natalie, Margaret Nicholson and of course Beryl Dean, I feel it’s time for a ‘deep dive’ if I’m to do the subject justice when teaching my own students.
This highly-structured method of thread-painting over gold requires an artist’s eye and an embroiderer’s patience.
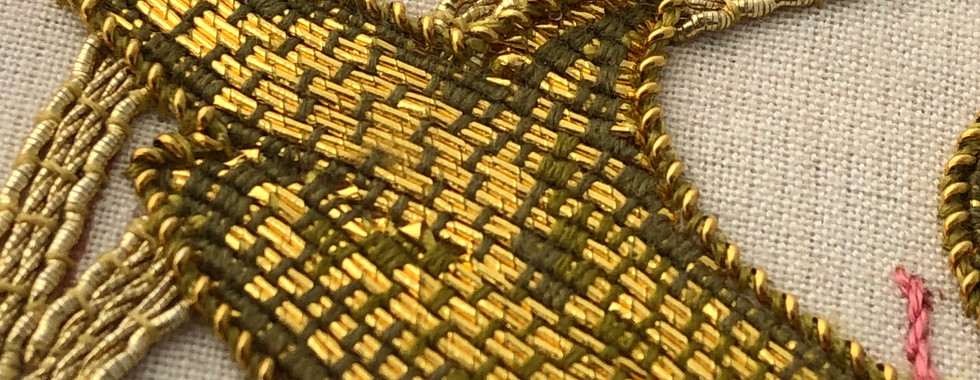
No one has actually ever taught me Or Nué, not really. We touched on it a bit on the RSN Apprenticeship, and there was a bit of confusion between Or Nué and something called Italian Shading. Both techniques involve laying down fine gold thread on a piece of fabric, which usually has an image drawn and/or coloured on it, and then re-creating the picture using coloured threads to attach the gold. Where there is no colour on the fabric, then a ‘self’ coloured thread (or an invisible one) is used to attach the gold. I’ve seen some amazing examples of this technique (whatever it is correctly called) and it’s something that’s been on my stitchery ‘bucket list’ for some time now.
Or Nué (and/or Italian Shading) was one of the key components in a form of embroidery in the Middle Ages known as Opus Anglicanum (‘English Work’) that was world-famous in its day. The other components were the humble Split Stitch (what a fab stitch THAT is) and a couching technique known as Underside Couching. My lovely friend Margaret Dier is currently ‘mentoring’ me on the latter (much coffee and natter is involved) and let me tell you, it’s trickier than it looks! Kind of like all hand embroidery really…
So back to the Or Nué - I’ve included a bit of really basic stuff on the year-long Goldwork Sampler course I’m currently teaching, and I’ve found that it works beautifully when you use flat silk floss (I’m using Pipers at the moment) - the thread is so flat that it doesn’t cause spacing problems between one length of gold and its neighbouring piece. And it shimmers gloriously over the gold (I’m using Number 5 Fine Passing - really lovely to work with). But the possibilities with this technique are phenomenal as you can see if you go to Natalie Dupuis’ website and instagram account, and I’m really looking forward to doing a deep dive via her online course which is due to start this spring. As I write this, the enrolment hasn’t opened up yet but is due to today, so I keep refreshing the screen - it’s fun to be a student again! I’ll keep you posted on how I get on with it over the coming months.
In my workbox...
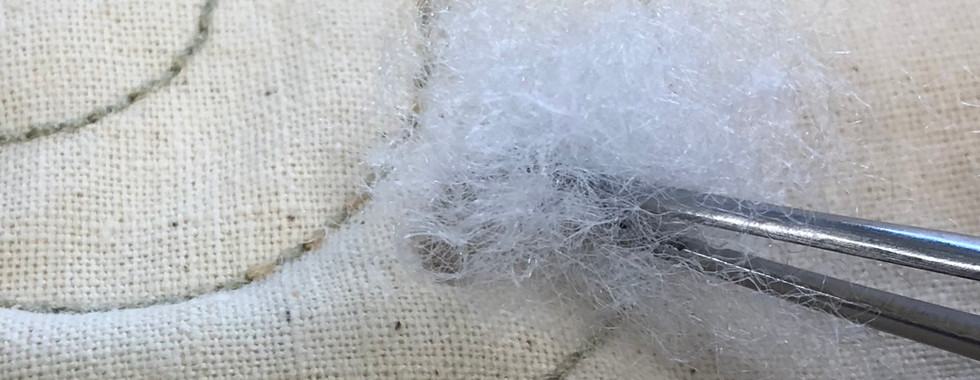
If you have ever seen any of my demonstration videos, chances are you’ve seen me using my favourite tool in my whole workbox - a pair of brass curved tweezers. They are SO useful for anything from unpicking fiddly stitches, working bullion knots VERY quickly, holding an awkward gold chip in place whilst putting in another one right next to it, and so on… I’ve NO idea where mine came from I’ve had them so long, but you can find the ones I recommend to my students by going to https://amzn.to/4009tum. You might even get addicted to using them like I have!
(I make a small commission if you click through to Amazon from my blog link.)






















Comentários