

Stitching with a Free Style
- Kelley Aldridge
- Mar 20, 2023
- 3 min read

“Take your needle, my child, and work at your pattern; it will come out a rose by and by. Life is like that - one stitch at a time taken patiently and the pattern will come out all right like the embroidery.” -
Oliver Wendell Holmes Sr.

I teach 3 different samplers online - at the moment I have 2 groups getting to grips with the new Stumpwork Sampler, 1 group sparkling their way through the Goldwork Sampler, and 2 groups stretching their creative muscles with the Royal School of Needlework’s Freestyle Sampler.


My biggest leap as a stitcher was moving from counted cross-stitch patterns where I was basically painting by numbers in thread, to mixed freestyle stitches where my design was more like a colouring book with blank spaces waiting to be filled.
Many new stitchers come to embroidery by way of the incredibly popular cross-stitch kits available in shops and online. From really basic little motifs to recreations of famous paintings, these kits can give pleasure and a way to switch off from the world that so many of us need. But many cross-stitchers secretly wish they could create something of their own instead of recreating someone else’s idea. These adventurers often slide sideways into the freestyle stitches (my term for those lovely, homely stitches that adorned tray cloths, pillowcases and table runners of yore). Often labelled as a ‘basic’ or ‘introduction’ technique, freestyle stitches are the backbone of all other forms of hand embroidery - I wouldn’t get far without the wonderful Stem Stitch!
And so it is with my current group of Freestyle Sampler students, who have come to me by way of the annual online course I run for the Royal School of Needlework. This project takes a year to work through and is a three-part design with upper and lower sections for rows and blocks of different stitches, and a central section for the student’s own design. The idea of creating a design for the first time can often be a scary one, but I offer lots of help along the way, and everyone comes up with lovely and varied plans which make each finished piece truly unique. This year’s group started in September and are nearly finished their top and bottom sections, trying out over 40 different stitches in a variety of colours and shades. They Zoom in from all over the globe and are very supportive of each other over WhatsApp between classes. They practice on spare linen in a hoop to get the hang of the stitch, and to try out different colour combinations before working directly on the main sampler, and it’s lovely to see all the possibilities tried out in advance. This is the 5th time I’ve run this class (the 3rd time online) and I never cease to be amazed and humbled by the creativity of my students, especially those who are coming to hand embroidery as more-or-less complete beginners. My favourite moment is when a student shifts from asking ‘what stitch should I put here?’ to ‘I think I’d like to put such-and-such stitch here, what do you think?’ THAT is why I will always teach, for as long as I can see my class! :) :) :)


In my workbox...
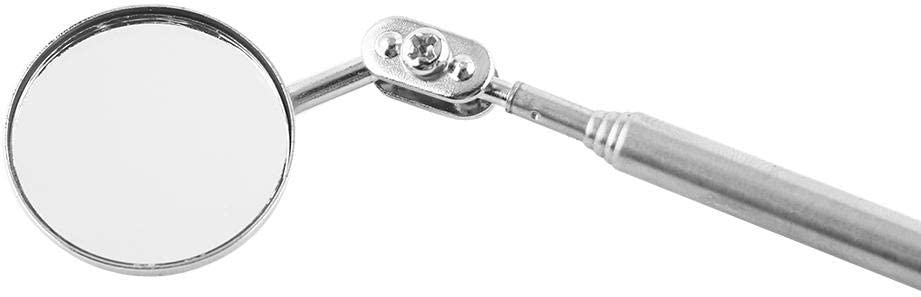
I have to thank one of my students for this great little gadget! Some years ago whilst teaching goldwork, we came to the technique known as ‘cutwork over soft string padding’ - all you need to know about it is that part of the work is always out of your line of sight, on the far side of some rather high padding. Because the main challenge of this technique is to get the gold to sit snug on top of the fabric on BOTH sides of the padding, it’s tricky knowing if you’ve got it right on the far side unless you want to keep standing up and leaning over to look! And then a very clever student suggested a mirror, and another clever student took this a step further and suggested one of those mirrors that dentists use. A truly awesome embroidery hack was born! I can’t tell you what a difference it has made with MY goldwork, and the one I got from Amazon (https://www.amazon.co.uk/gp/product/B08BCM8RGZ/ref=ppx_yo_dt_b_search_asin_title?ie=UTF8&psc=1) is actually hinged, which means I can leave it propped up whilst stitching with both my hands. Amazing.


Comments